
 Customer Projects
 Gallery
 Our Showroom
 Listed Buildings
Sometimes our customers ask for advice when it comes to installing our products.
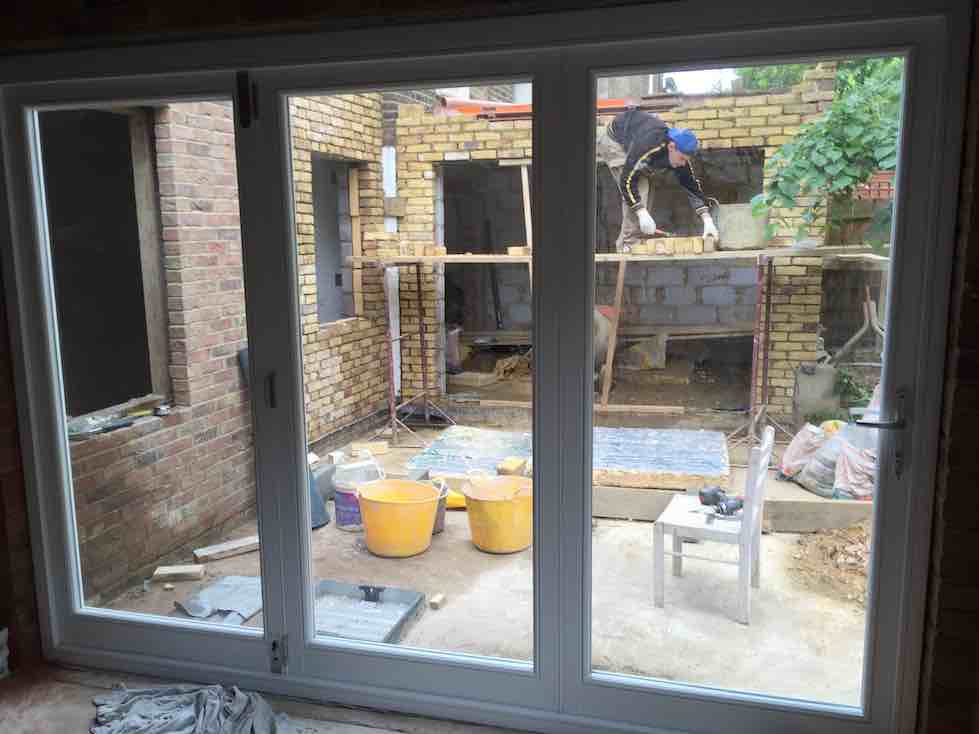
We’ve helped our customers resolve various issues from how to install weights into our sliding sash windows to selecting the right tools to remove old windows.  Usually we hop on the phone or even Skype, but on the weekend just past we were asked to advise on how to install one of our bi-folding door systems, and we felt it might be a good opportunity to get and meet one of our customers, so on an early sunny Saturday morning we set off for Maida Vale.
- First assemble the frame by laying the four sections flat on the ground, as near to the door opening as possible. Â Make sure to protect the paint work from getting scratched on the ground by using a large, clean dust sheet. Â Tighten the four sections together using a socket set, there will be two bolts on each corner.
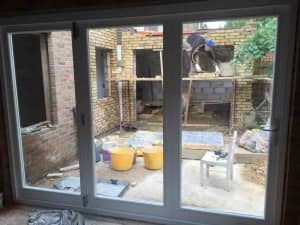
- Lift the frame into position, ensuring the jambs of the frame are facing inside and the locking catch for the door is facing outside.

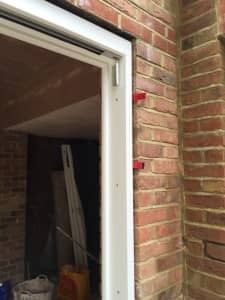
- Fix the frame into the side walls with minimum 6 inch screws, we suggest 9 inch screws and plugs.  Fix the frame with three screws on each side.  Use packers to ensure there is no movement in the frame before you attempt to install the doors.
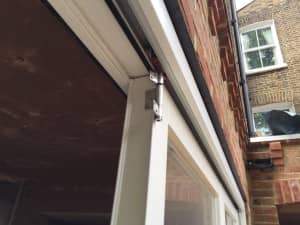
- Fix the frame into the overhead lintel.  The width of the door will mandate how many screws you need, the door on this job was nearly four metres in length, because our bi-folding doors are top hung and the weight of the doors slide along the upper track of the frame, we suggest using four evenly placed screws at the top of the frame.  Note it is vital to place screws at the top of the frame to prevent the frame from bowing and to ensure smooth operation of the door along the tracks, failure to do so will result in a sticking door.
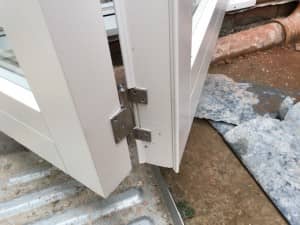
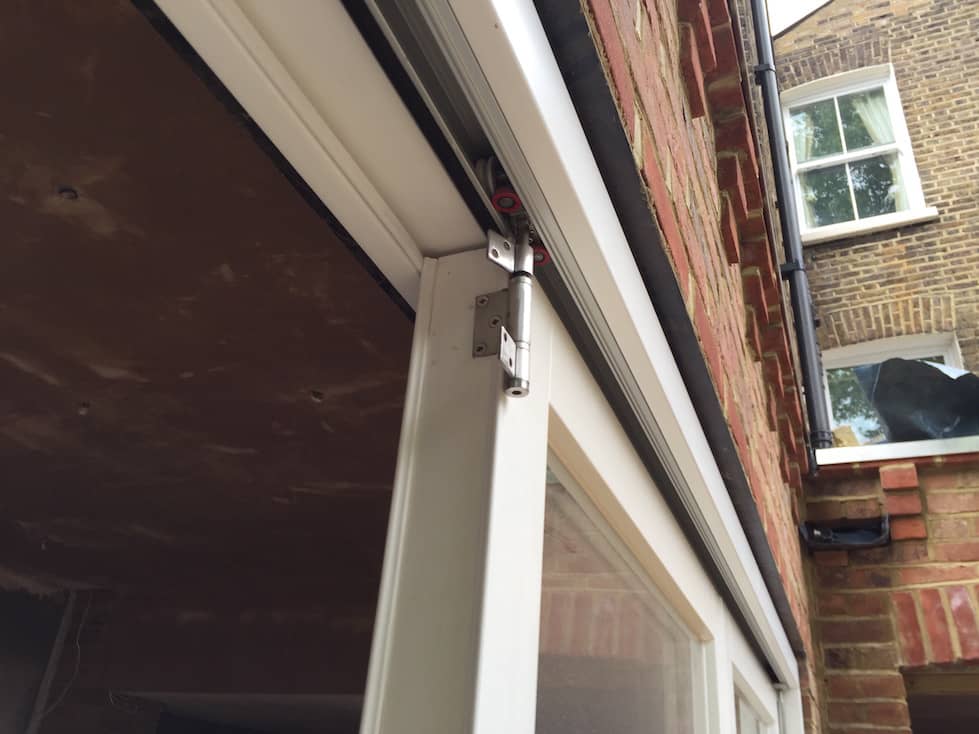
- Lift the first door leaf into the frame and screw the hinges into the frame. Â Note the first door leaf is the door which will open last in the system.
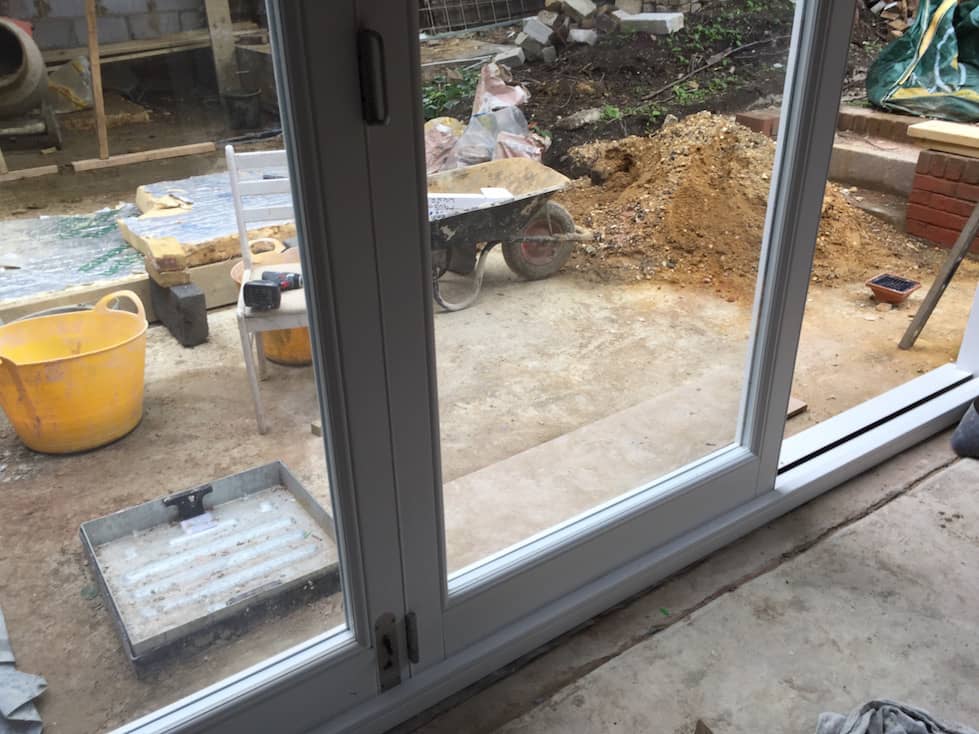
- Lift the next door leaf into the frame (door two) and screw this into the overhead and threshold runners.  Next connect door one and door two together using the pre-installed hinges.
-  Depending on how many doors are in your system, continue to repeat step 6 until the last door remains.
- Â Lift the last door into position and attach it to the other doors using the pre-installed hinges.
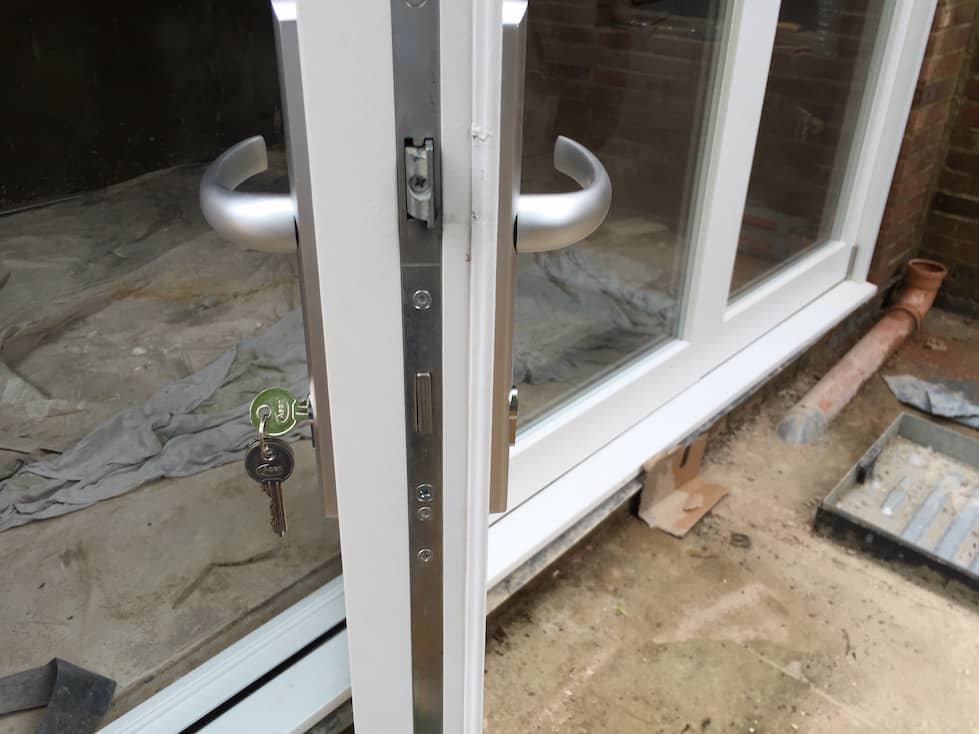
- Â Attach the handle. Â You may need to adjust the positioning of the locking chamber so that the locking mechanism sits neatly behind the door handle.

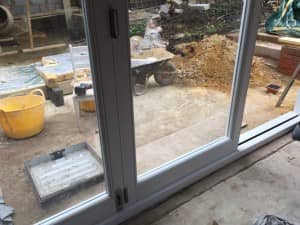
- If necessary adjust the overhead runners using an allen key so that the doors run smoothly along the runners, remembering that doors are top hung and not bottom hung; there should be no need to adjust the bottom runners.
- Secure the rest of the door in place using expanding foam. Be sure to protect the paint work from the expanding foam using masking tape. Â Once the foam has set cut the excess away, and make good with plaster, pointing and silicone.
- Relax, make a cup of tea and enjoy your new bi-folding door.